Step 1: Download WinSCP
1. Open your web browser
2. Navigate to the official WinSCP website:
https://winscp.net/eng/download.php
3. Download the latest version of WinSCP
4. Choose the appropriate installer for your system:
- Installation package (recommended for most users)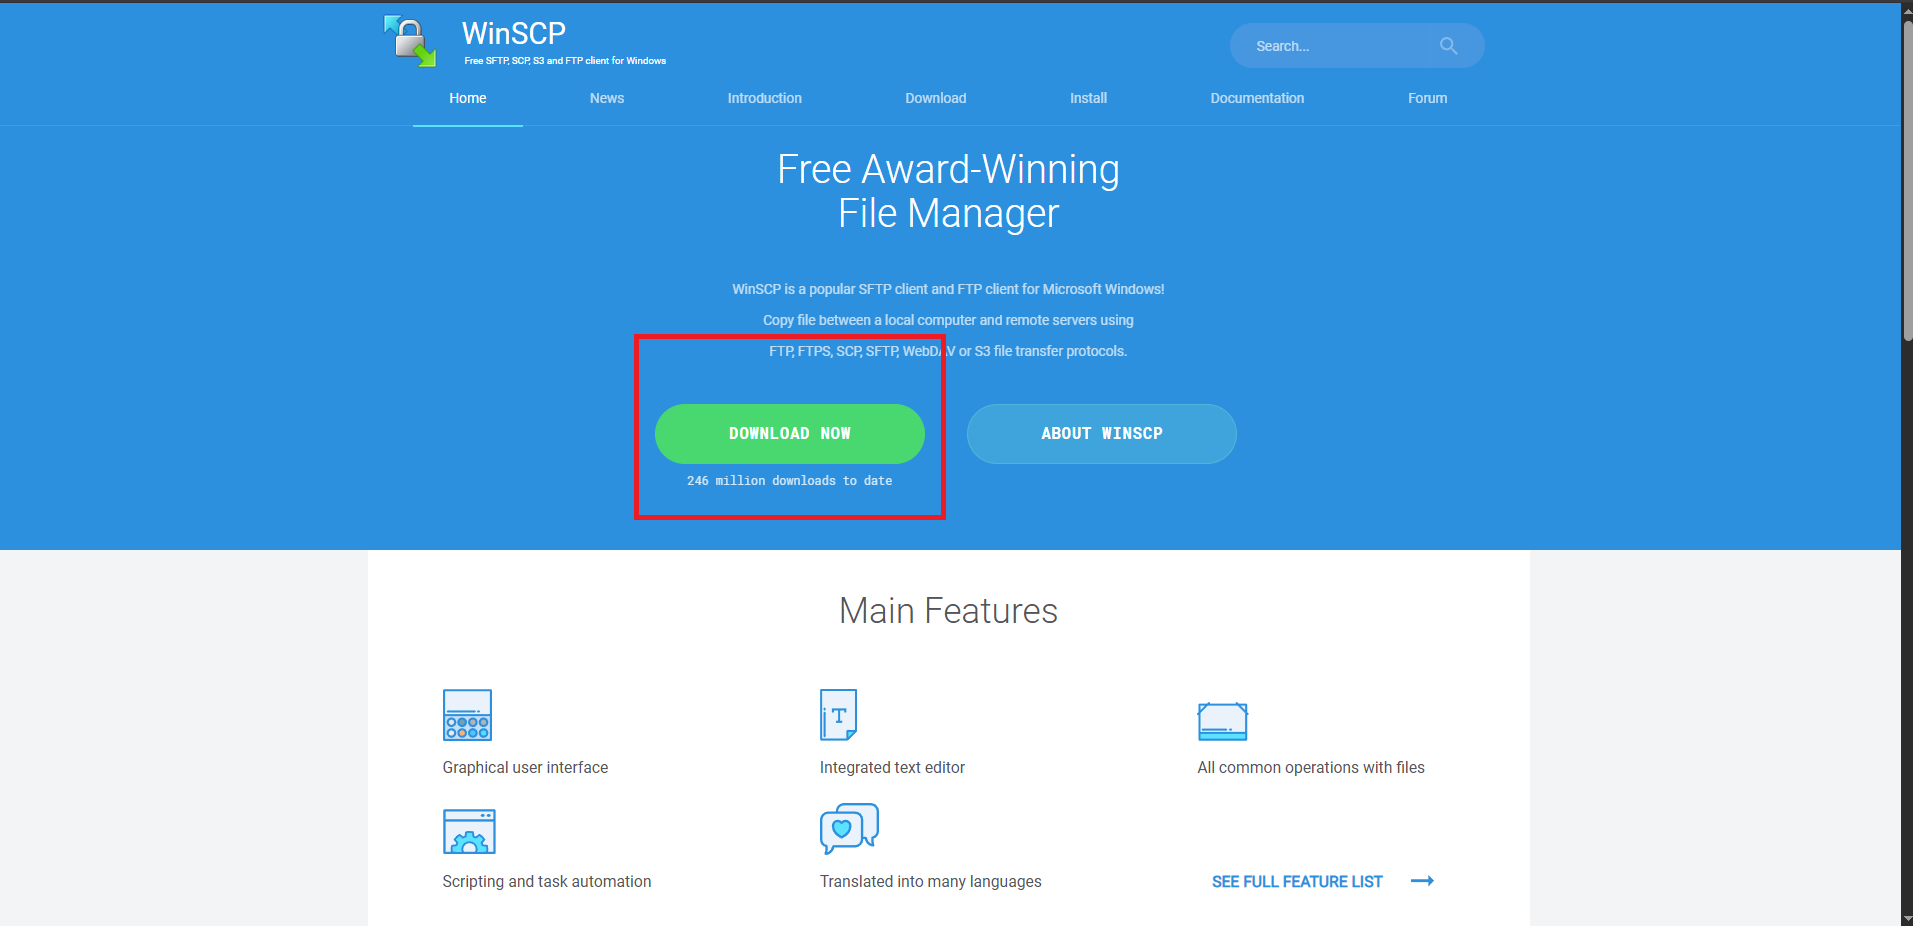
Step 2: Install WinSCP
1. Run the downloaded installer
2. Follow the installation wizard:
- Accept the license agreement
- Choose installation directory (default is recommended)
- Select additional tasks (desktop shortcut, etc.)
3. Complete the installation
4. Launch WinSCP when installation finishes
Step 3: Initial WinSCP Setup
1. WinSCP will open showing the login dialog
2. Keep this window open - you'll need it for the next steps
3. Note the interface layout for future reference
Part 2: Access Your Qonzer QPanel
Step 4: Log Into QPanel
1. Open your web browser
2. Navigate to Qonzer QPanel:
```
https://qp.qonzer.com/
```
3. Enter your login credentials:
- Username
- Password
4. Click "Login" to access your dashboard
Step 5: Navigate to Your Service
1. Locate your hosting service on the dashboard
2. Click on your service to open the management page
3. You should see your application homepage with various management options
Step 6: Find FTP Information
1. Scroll down on your service page
2. Locate the "FTP Info" section
3. You'll see FTP connection details including:
- Server address
- Username
- Port number
- Connection options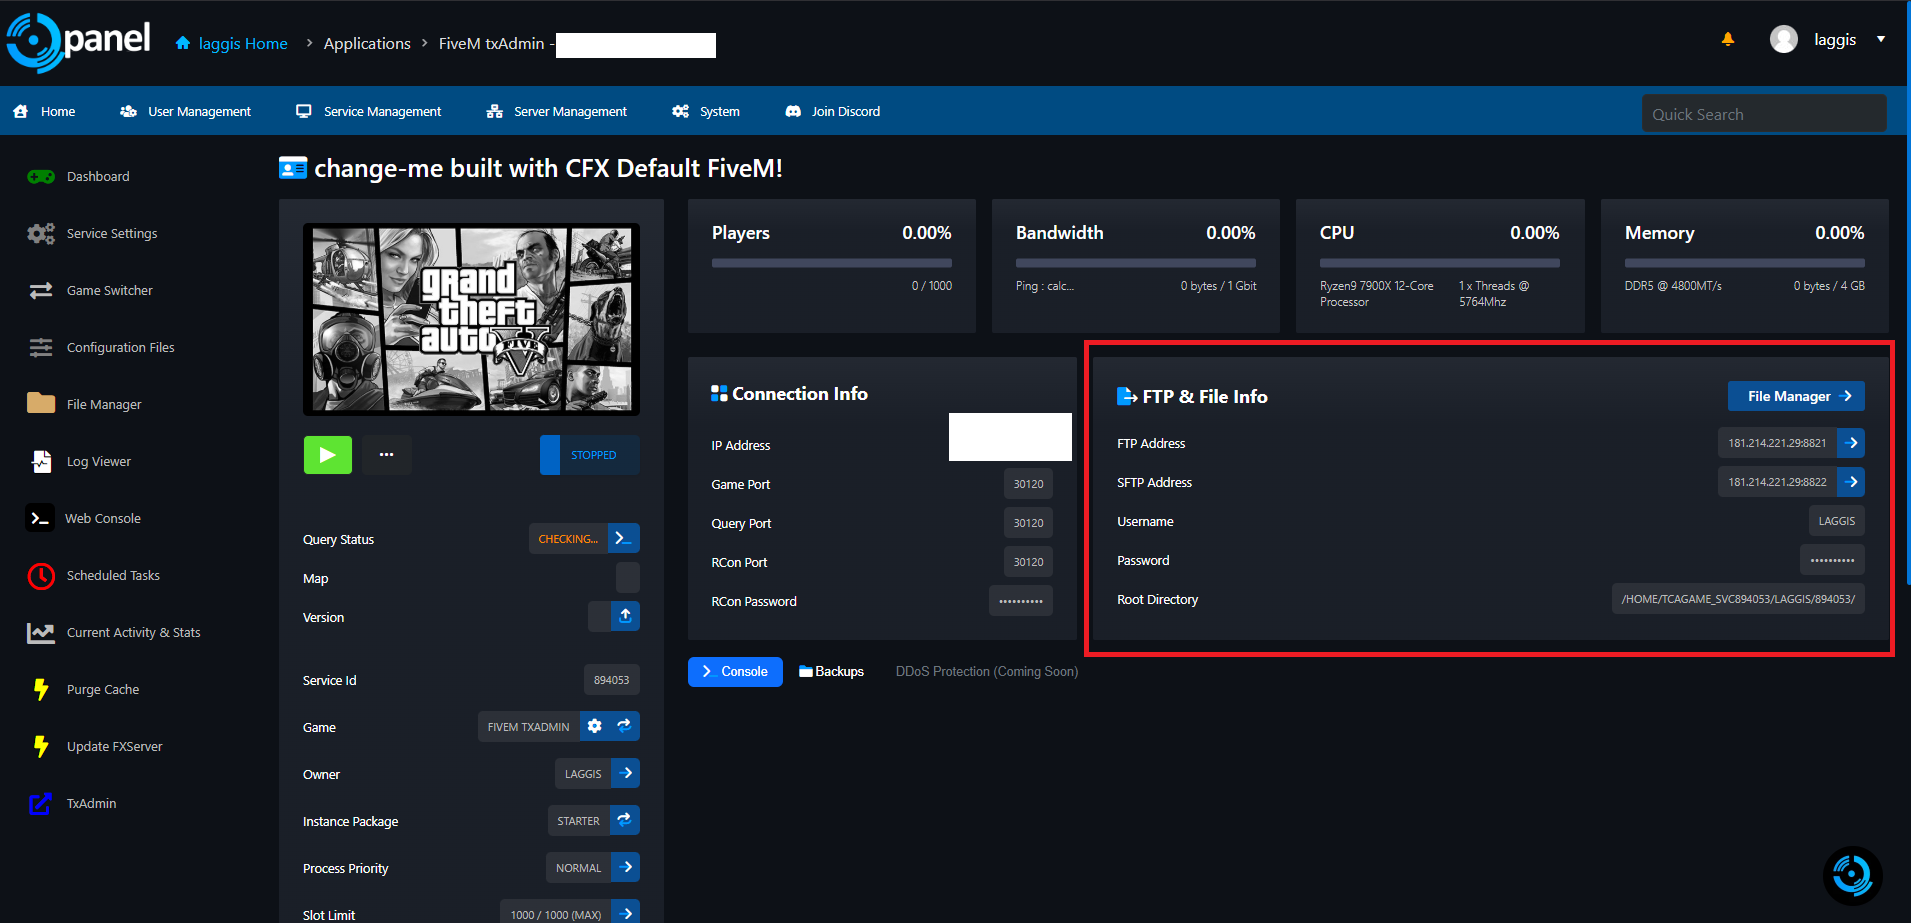
Step 7: Auto-Connect via QPanel
1. In the FTP Info section, look for the "Auto-Connect" button
2. Click "Auto-Connect"
3. This will automatically configure WinSCP with your FTP settings
Step 8: Browser Permission
1. At the top of your browser, a popup will appear
2. The popup asks permission to open WinSCP
3. Click "Allow" or "Open WinSCP" to proceed
4. WinSCP will launch with pre-configured connection settings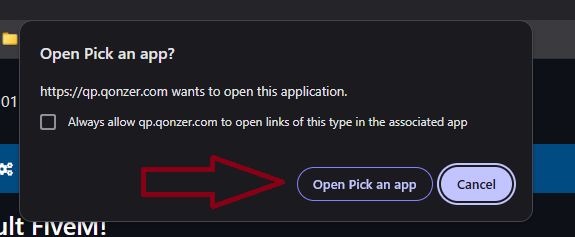
Step 9: Accept Host Key (First Time Only)
1. For first-time connections, WinSCP will show a security dialog
2. The message asks you to verify the host key
3. Click "Accept" to add the host key to your trusted list
4. This step ensures secure connection to your server
Using WinSCP Interface
Understanding the Interface
Once connected, you'll see the dual-pane interface:
Left Panel (Local Files):
- Shows files on your computer
- Navigate through your local directories
- Green highlighting indicates local files
Right Panel (Remote Files):
- Shows files on your server
- Navigate through server directories
- Red highlighting indicates remote files
File Transfer Operations
Uploading Files (Local to Server):
1. Navigate to the file on your computer (left panel)
2. Drag and drop the file to the desired server location (right panel)
3. Alternatively: Right-click file → "Upload"
Downloading Files (Server to Local):
1. Navigate to the file on the server (right panel)
2. Drag and drop the file to your desired local location (left panel)
3. Alternatively: Right-click file → "Download"
Creating Folders:
1. Right-click in the desired panel
2. Select "New" → "Folder"
3. Enter folder name and press Enter
Deleting Files:
1. Select the file(s) you want to delete
2. Press Delete key or right-click → "Delete"
3. Confirm the deletion when prompted
Verification and Testing
Confirm Successful Connection
1. Check the title bar of WinSCP
2. You should see your server address and connection status
3. The right panel should show your server's file structure
4. Try navigating through different directories
Troubleshooting Common Issues
Connection Problems
"Cannot connect to server" Error:
- Check your internet connection
- Verify QPanel credentials are correct
- Try the Auto-Connect button again
- Contact Qonzer support if issues persist
"Host key verification failed" Error:
- Click "Accept" to trust the host key
- Ensure you're connecting to the correct server
- Clear WinSCP cache if problems continue
Bookmarks
Save frequently used locations:
1. Navigate to desired directory
2. Press Ctrl+D to bookmark
3. Access bookmarks from the menu
Alternative FTP Clients
If WinSCP doesn't meet your needs:
- FileZilla - Free, cross-platform FTP client
- Core FTP - Lightweight Windows FTP client
- SmartFTP - Professional FTP client with advanced features
- Built-in Windows FTP - Command-line FTP access
Quick Reference
Essential Shortcuts:
- F5 - Refresh directory listing
- F6 - Move files
- F8 - Delete files
- Ctrl+D - Add bookmark
- Ctrl+T - Open new tab
Need Help?
Contact Qonzer support through your QPanel for assistance with FTP access or server-related issues.
