This guide explains how to set yourself as an administrator on your FiveM server by editing the server.cfg file directly. This method gives you permanent admin access that persists across server restarts.
Step 1: Get Your User Identifier
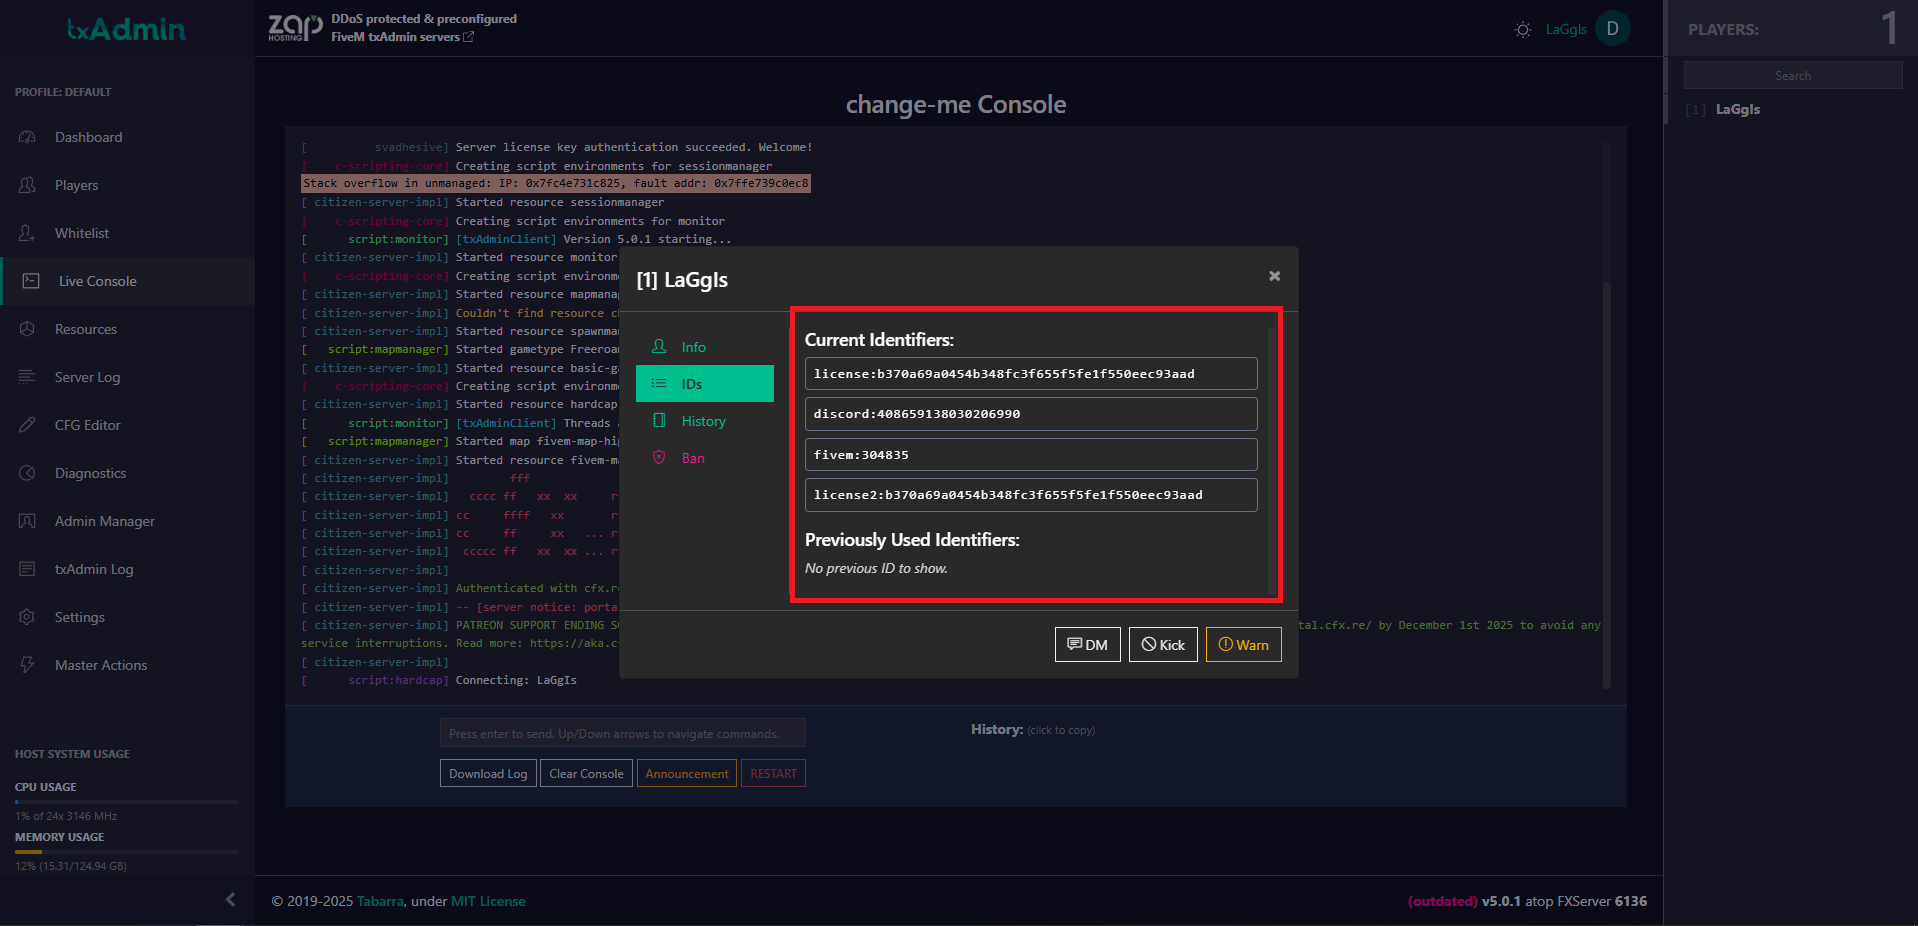
Find Your Steam ID
1. Join your FiveM server
2. Press the Up Arrow key until a dialog appears showing your user information
3. Look for your identifier - it will be in one of these formats:
- Steam ID: `steam:110000xxxxxxxxx`
- License: `license:xxxxxxxxxxxxxxxx`
- Discord: `discord:xxxxxxxxxxxxxxxxx`
4. Copy this identifier for the next step
Step 2: Edit server.cfg File
Access Your Server Files
1. Log in to your hosting control panel
2. Navigate to File Manager
3. Locate your FiveM server directory
4. Find and open the server.cfg file
Add Admin Permissions
1. Scroll to the bottom of the server.cfg file
2. Add one of these lines depending on your identifier type:
For Steam ID:
add_principal identifier.steam:110000xxxxxxxxx group.admin
For License:
add_principal identifier.license:xxxxxxxxxxxxxxxx group.admin
For Discord:
add_principal identifier.discord:xxxxxxxxxxxxxxxxx group.admin
3. Replace the `x` characters with your actual identifier from Step 1
4. Save the server.cfg file
Step 3: Restart Your Server
1. Go to your hosting control panel
2. Restart your FiveM server
3. Wait for the server to start up
4. Wait for the server to fully load
Step 4: Test Admin Access
1. Join your FiveM server
2. Try these admin commands to verify access:
- Pressing the home button.
- `/noclip` - Toggle no-clip mode
- `/god` - Toggle god mode
- `/heal` - Heal yourself
- `/car adder` - Spawn a vehicle
- `/tp` - Teleport commands
3. If commands work, you now have admin privileges!
Advanced Configuration
Multiple Admins
To add multiple administrators, add separate lines for each:
add_principal identifier.steam:110000111111111 group.admin
add_principal identifier.steam:110000222222222 group.admin
add_principal identifier.license:abcdef123456789 group.moderator
Custom Permission Groups
You can create custom groups with specific permissions:
add_ace group.vip command.heal allow
add_ace group.vip command.car allow
add_principal identifier.steam:110000xxxxxxxxx group.vip
ACE Permissions System
For fine-grained control, use ACE permissions:
add_ace identifier.steam:110000xxxxxxxxx command.kick allow
add_ace identifier.steam:110000xxxxxxxxx command.ban allow
Troubleshooting
Admin Commands Not Working?
- Check identifier format: Ensure you copied the complete identifier including the prefix (steam:, license:, discord:)
- Verify server.cfg syntax: Make sure there are no typos in the add_principal line
- Restart required: Always restart the server after editing server.cfg
- Case sensitivity: Identifiers are case-sensitive, copy exactly as shown
Common server.cfg Mistakes
- Missing `identifier.` prefix
- Wrong identifier type (using steam: when you have license:)
- Extra spaces or characters
- Placing the line in the wrong section of server.cfg
Important Security Notes
- Backup First: Always backup your server.cfg before making changes
- Test Changes: Test on a development server first if possible
- Limit Access: Only give admin permissions to trusted individuals
- Regular Review: Periodically review and remove unused admin accounts
- Use Groups: Prefer group-based permissions over individual ACEs
Example Complete server.cfg Section
Admin Permissions
add_principal identifier.steam:110000xxxxxxxxx group.admin
add_principal identifier.license:abcdef123456789 group.moderator
Group Permissions
add_ace group.admin command allow # Allow all commands
add_ace group.moderator command.kick allow
add_ace group.moderator command.ban allow
With these server.cfg changes, you'll have permanent admin access that persists across server restarts!
Need Help?
Click the Live Support button on our homepage to get help instantly. Our team can:
